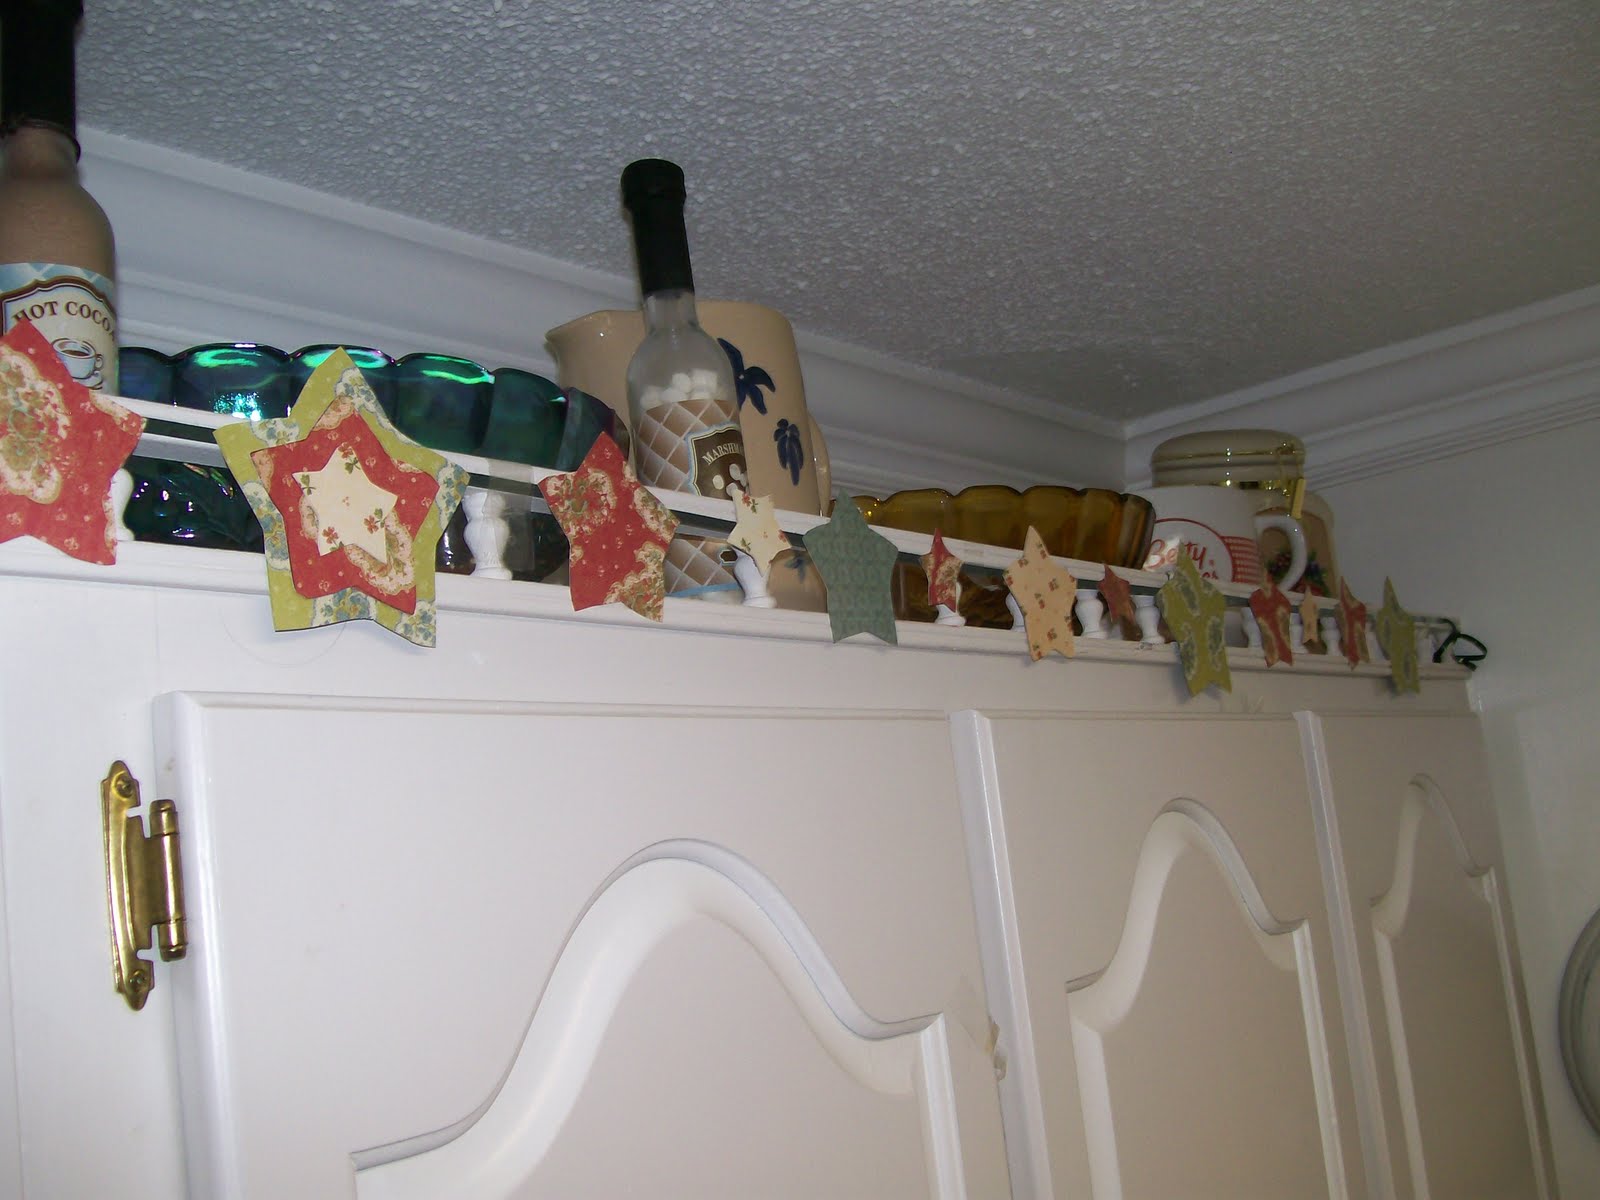
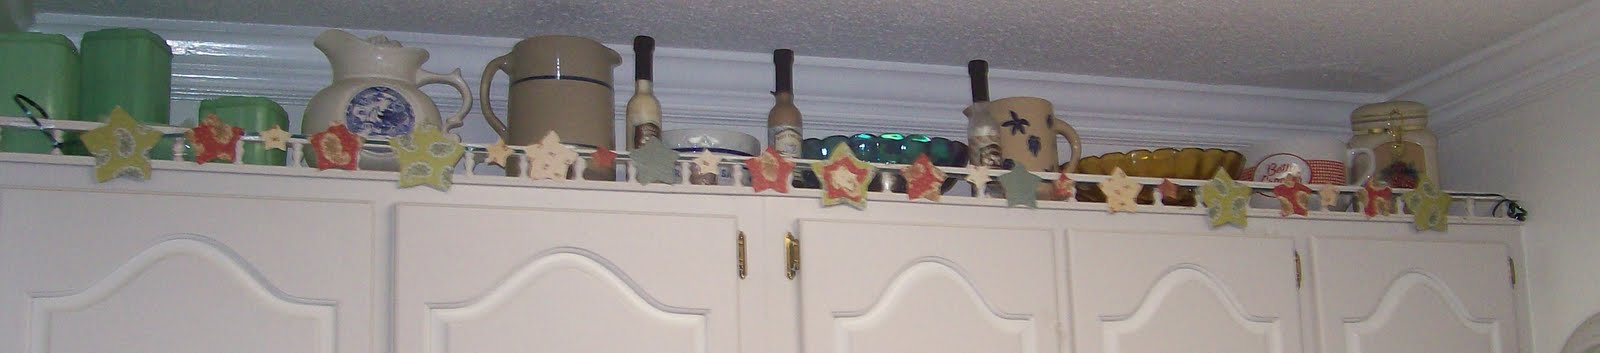
You may remember the Easter Garland I posted on back in March. I actually kept it up through spring, and then finally I decided I needed something new for summer. So the other day I used the same concept behind the Easter Garland and made some star garland for the summer.
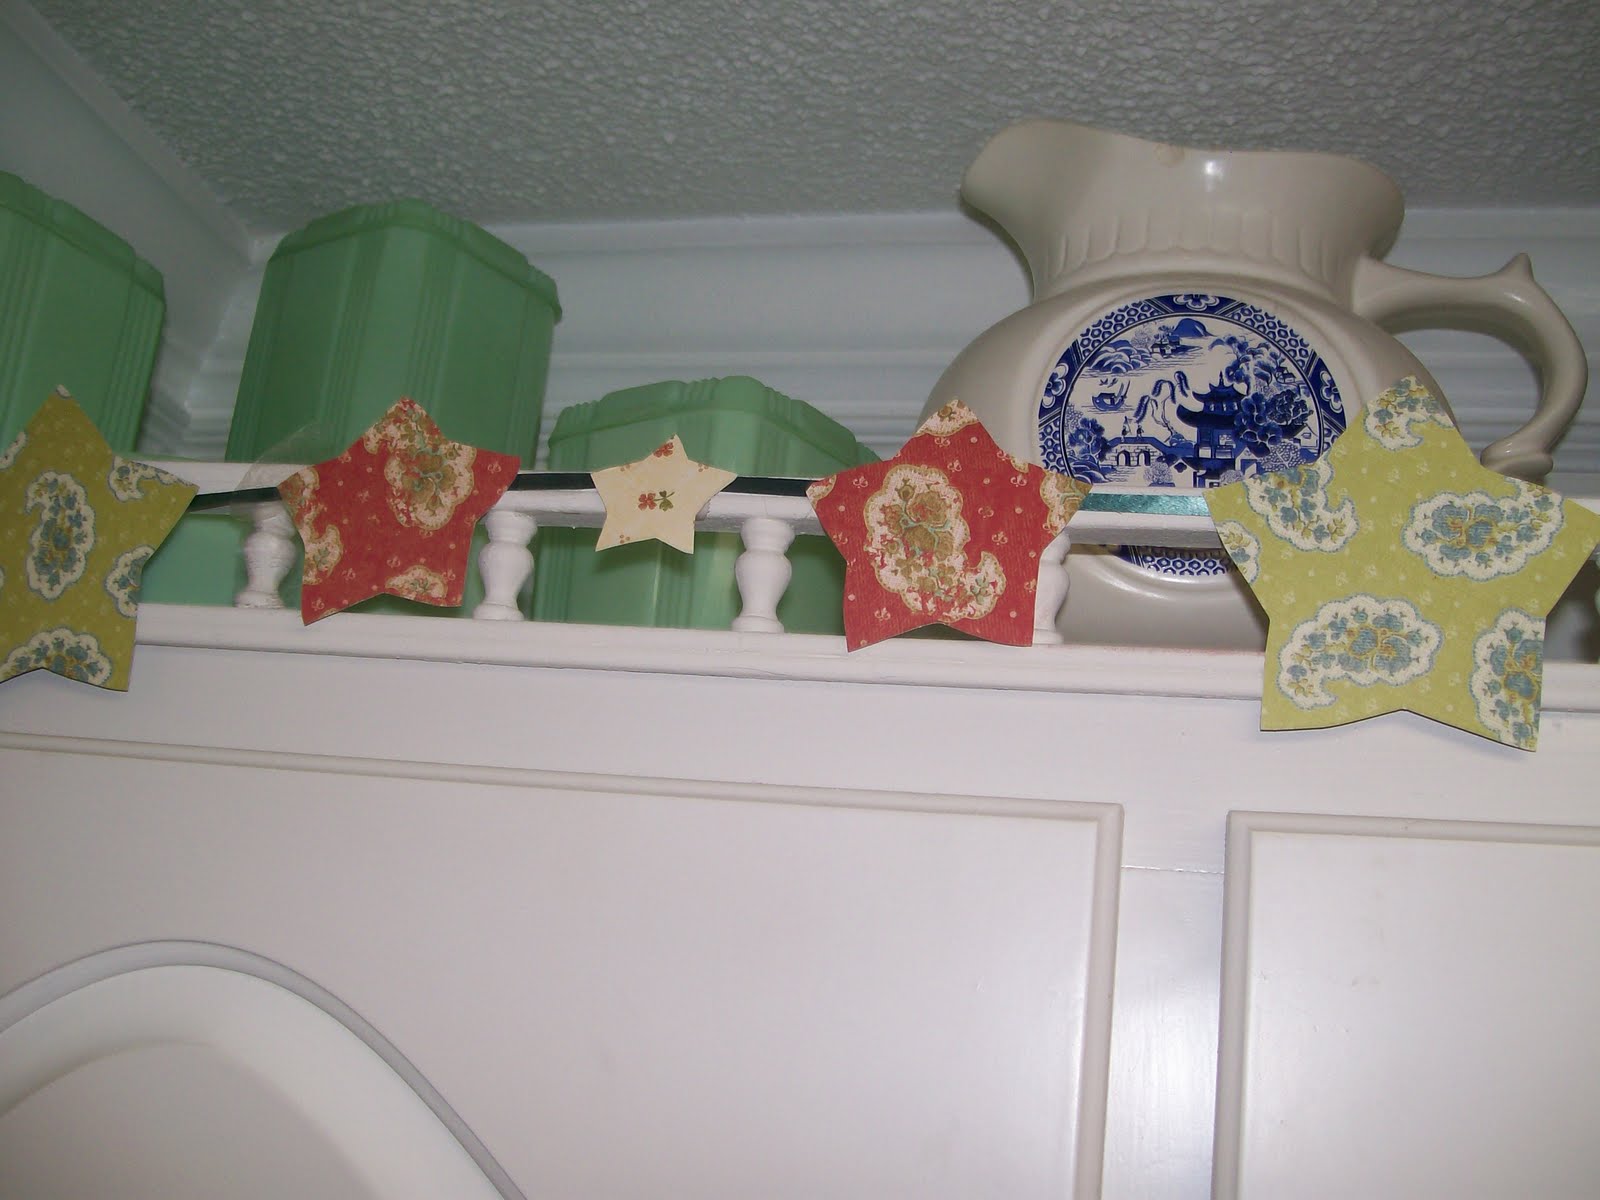
I would have liked to have done this in red, white, and blue, but I didn’t have any coordinating papers that I liked together, and I’ve decided I need to use some of the supplies I already have rather than going out and buying new stuff all the time, so I went with a red, green, and blue color scheme.
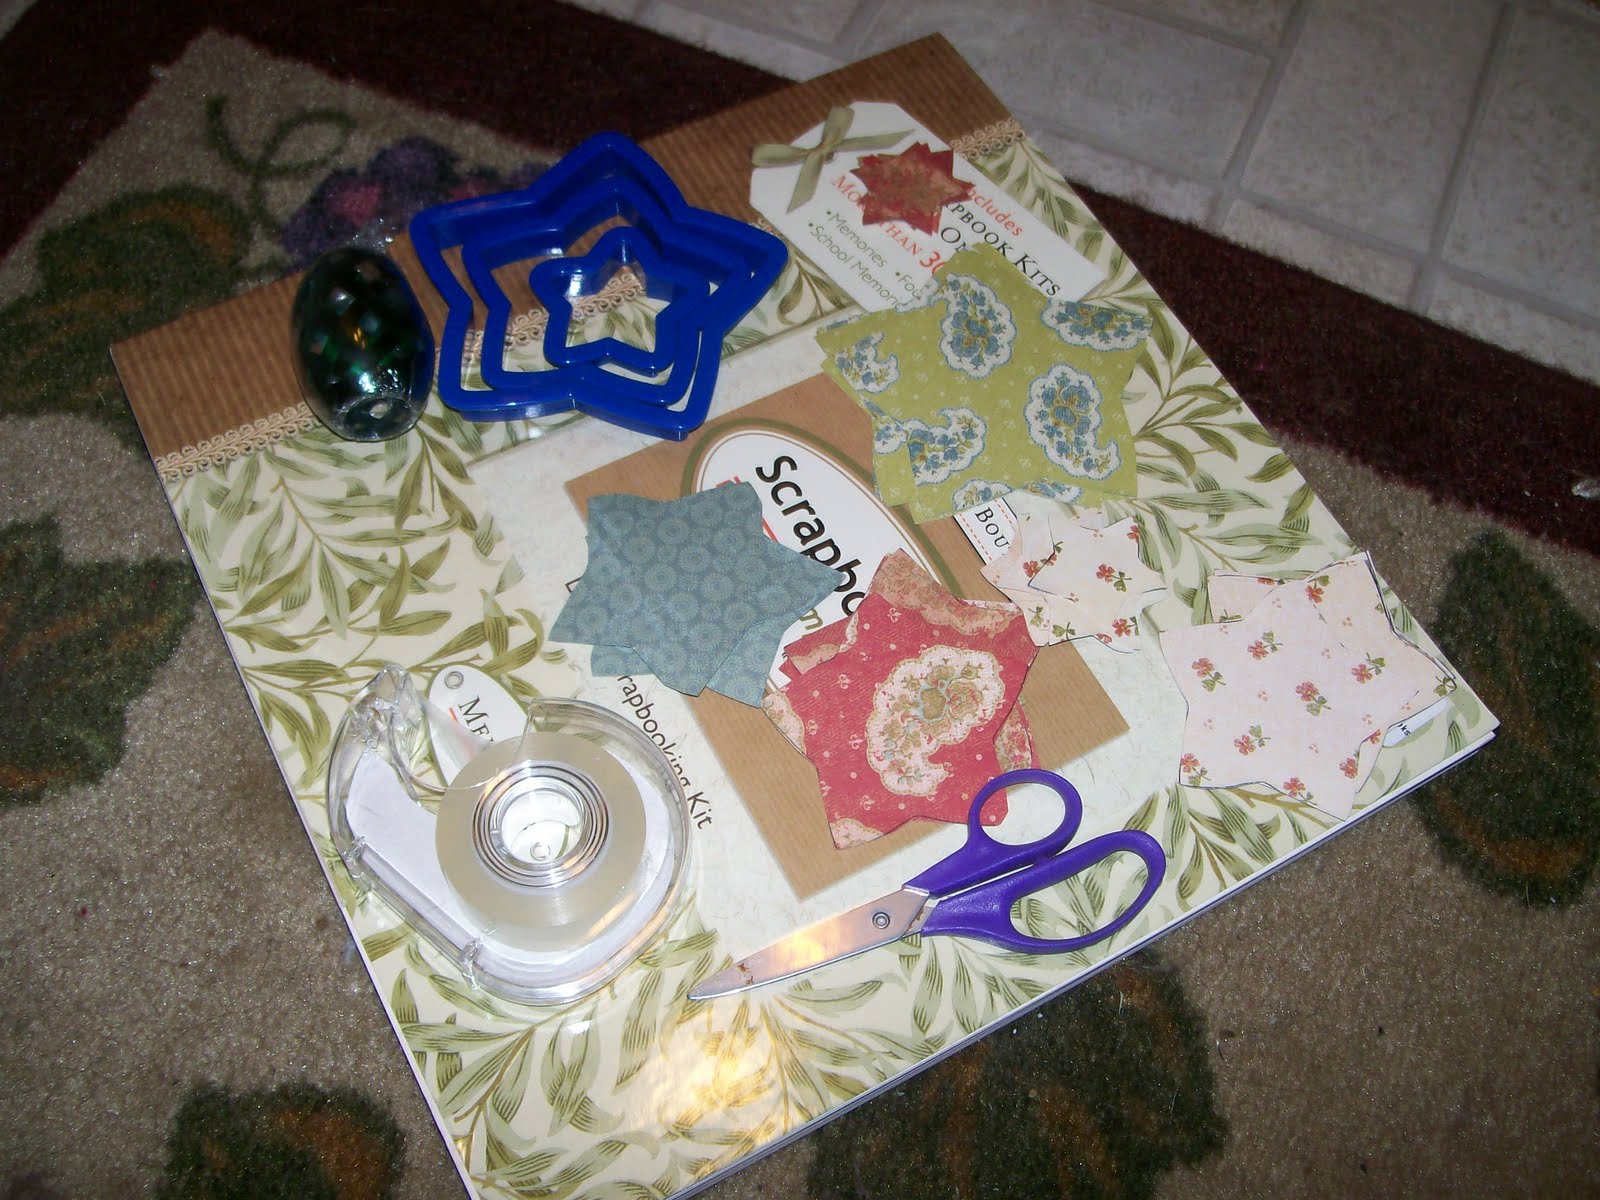
What You’ll Need:
Scrapbook paper
Ribbon
Scissors
Tape
Cookie Cutters
Pencil/Pen
Garland Tutorial:
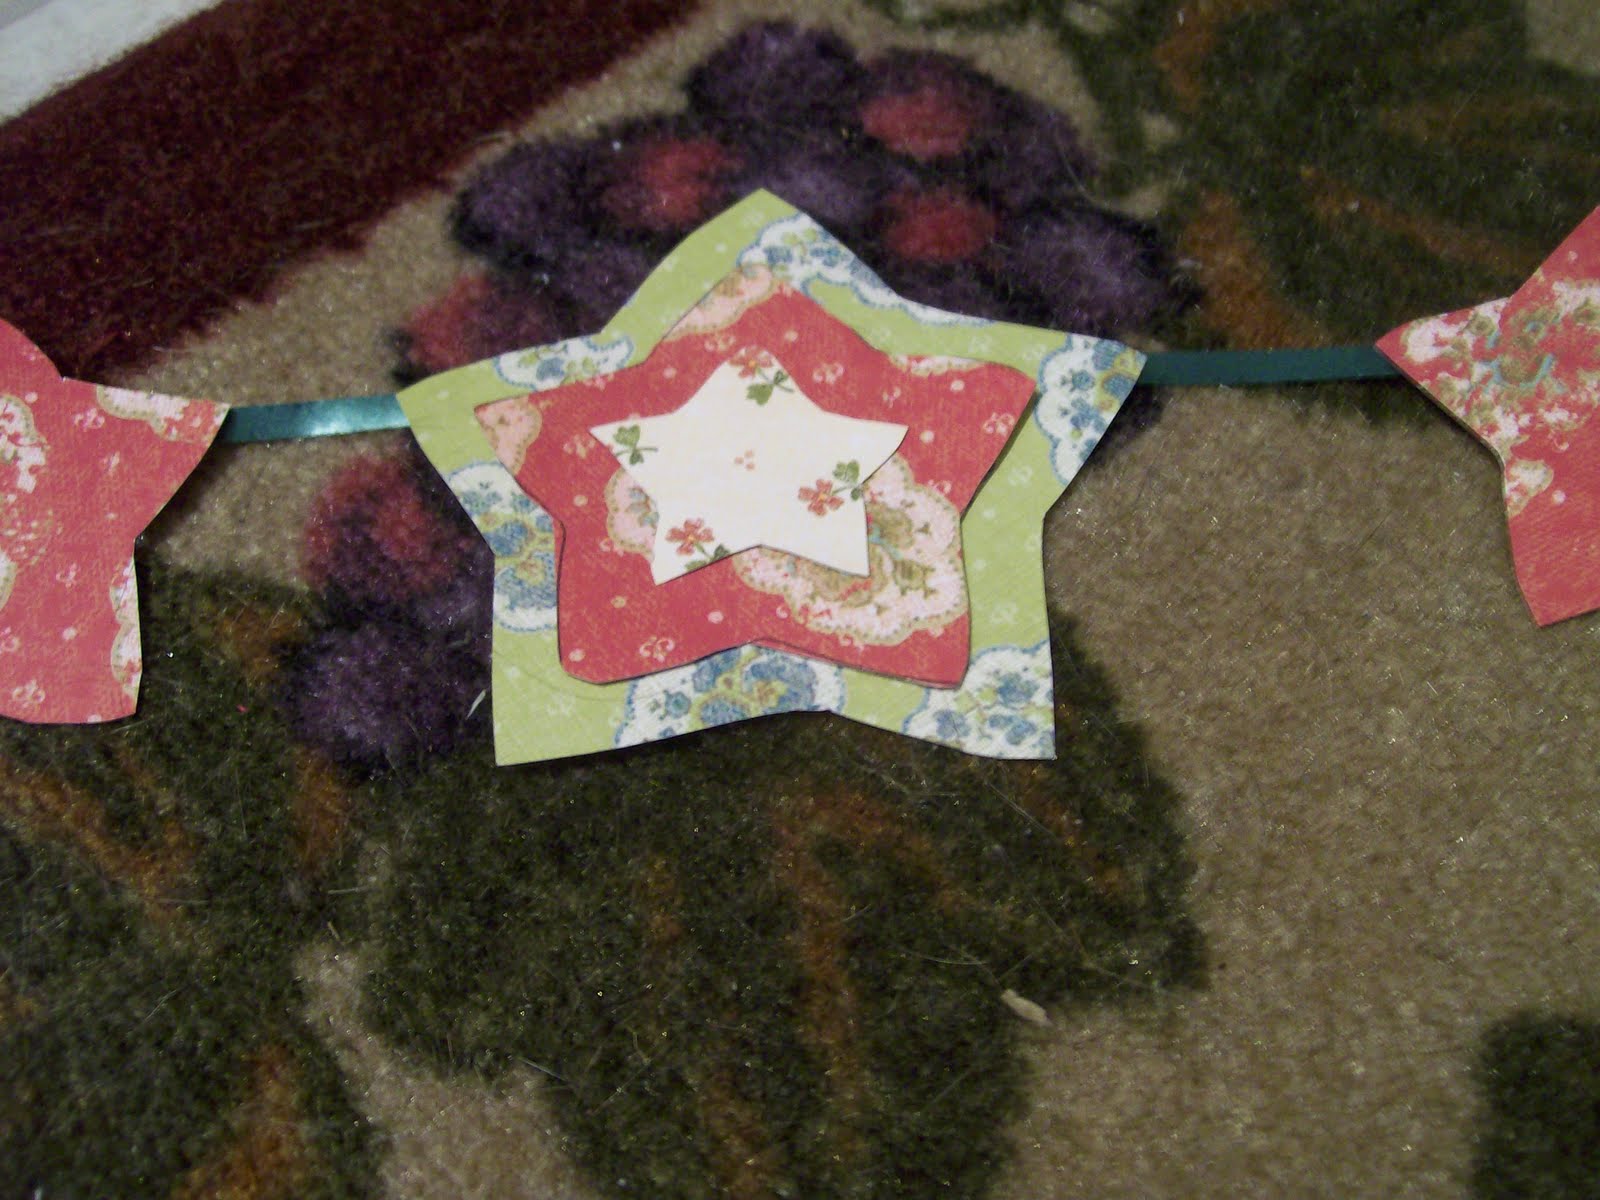
-Use cookie cutters or stencils to trace shapes onto the back of scrapbook paper. You can use a single shape or multiple shapes. (I used 3 different size stars, and I used 4 different paper designs.)
-Next take your scissors and cut out the shapes. (I made 24 cut outs for a seven and a half foot string of garland last time and this time.)
-Cut off a line of ribbon. Make the ribbon as long as you like. I suggest cutting off at least a foot more than the intended length. (I made a 7 1/2 foot garland, but I actually cut about 8 1/2 foot of ribbon off. I used the extra length on each end to wrap it around the “edging” on the top of the cabinets.)
-Now attach the shapes to the ribbon. (I placed them about an inch to an inch and a half apart from each other.)
-There are a few different methods you can use for this. Liz from Hoosier Homemade actually sewed the cutouts to the ribbon. I, however, am not a seamstress and decided to use a short cut method. I used tape to attach the shapes. I used two small pieces of tape on each shape (making a t or x with the tape on the back of each shape.) I used two pieces to make sure it was secured, and put them on there cross-ways so that the garland would be more flexible/movable. For this step you could also mod podge or a glue gun if you prefer. (I just used tape because it’s quicker, there’s no mess, and it would allow me to make adjustments if I needed to.)
-Then hang your garland and enjoy!
-Jerri
I am happy to link up my posts each week to some awesome Linky Parties.

Your garland is very pretty! Thanks for the tutorial…Christine
LOVE your decorations, wish I had that kind of talent.
I have an award for you! 🙂
http://angelfoodskitchen.blogspot.com/2010/07/michelle-from-all-home-cooking-all-year.html
So fun! I may have to try something to festive-up my kitchen. 🙂